Table of Contents
Navigate to the plugin settings under Reachsy Menu> Menu Settings to customize how your digital menu will appear to users. This section covers the core options available in the General Settings tab.
Show Fields on the Menu Page #
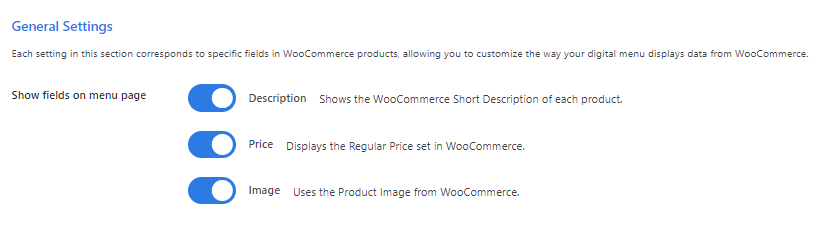
You can control which details about each menu item are displayed on the menu page. The available fields to toggle on or off include:
- Description: Toggle on to display a short description of the menu item.
- Price: Toggle on to show the price of each item.
- Image: Toggle on to display images of menu items.
Select Filters to Show on the Menu Page #

Choose which filters customers can use to sort through the menu. Popular filters include:
- Combos
- Non-veg
- Veg
You can customize the filters to match your menu categories.
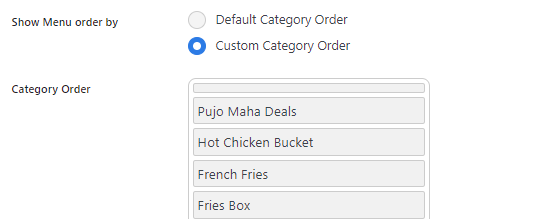
Show Menu Order By #
This option determines how your menu items are displayed:
- Default Category Order: Displays items in the standard WooCommerce category order

- Custom Category Order: Allows you to manually reorder categories as needed.