Table of Contents
Once your CSV file is ready, follow these steps to import the data into your WooCommerce store:
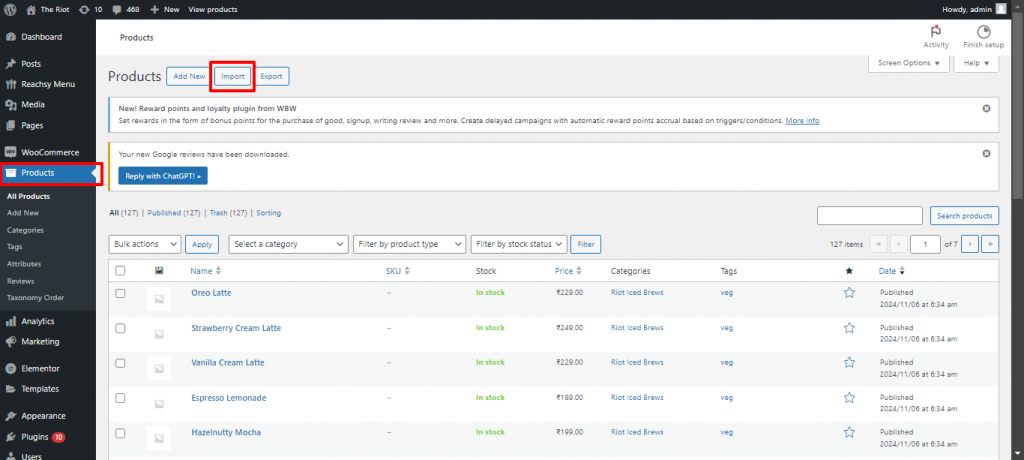
Step 1: Access the WooCommerce Import Tool #
- In your WordPress dashboard, navigate to WooCommerce > Products
- Click the Import button at the top of the Products page
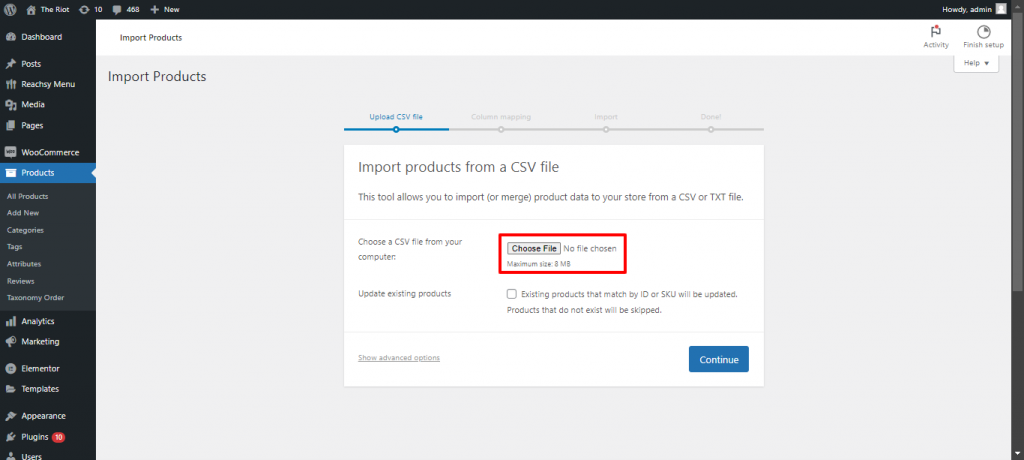
Step 2: Upload Your CSV File #
- In the Product CSV Importer screen, click Choose File and select your CSV file.
- Check the box that says Update existing products if you are updating an existing menu.
- Click Continue
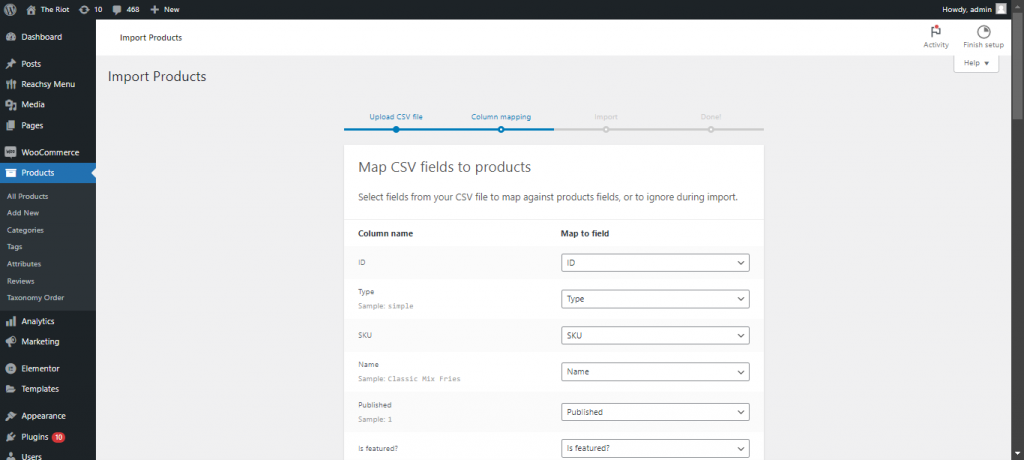
Step 3: Map CSV Fields to WooCommerce Fields #
- WooCommerce will automatically try to match your CSV columns with product fields (like Name, Description, etc.).
- If necessary, manually match each CSV column to the correct WooCommerce field.
- Name should map to Product Name.
- Description should map to Short Description.
- Price should map to Regular Price.
- Image URL should map to Product Image URL.
- Category should map to Product Categories.
- Filters should be assigned as a Tag.
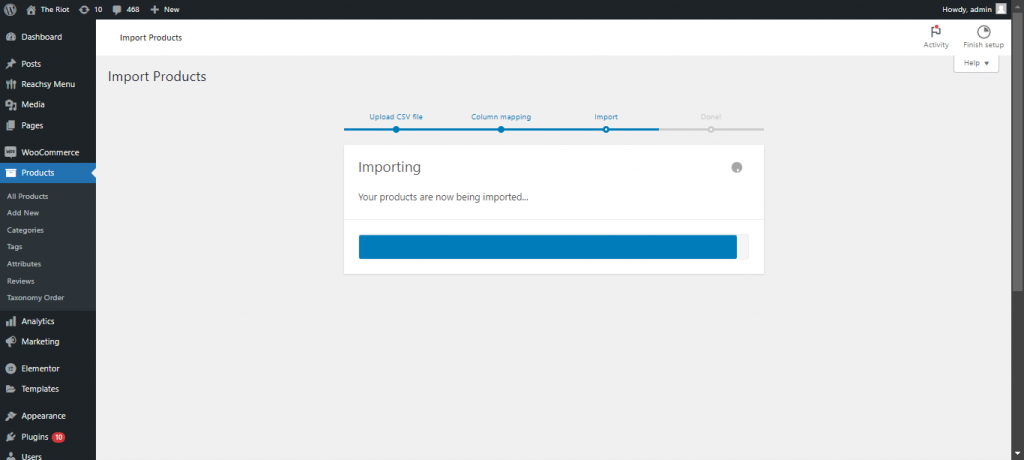
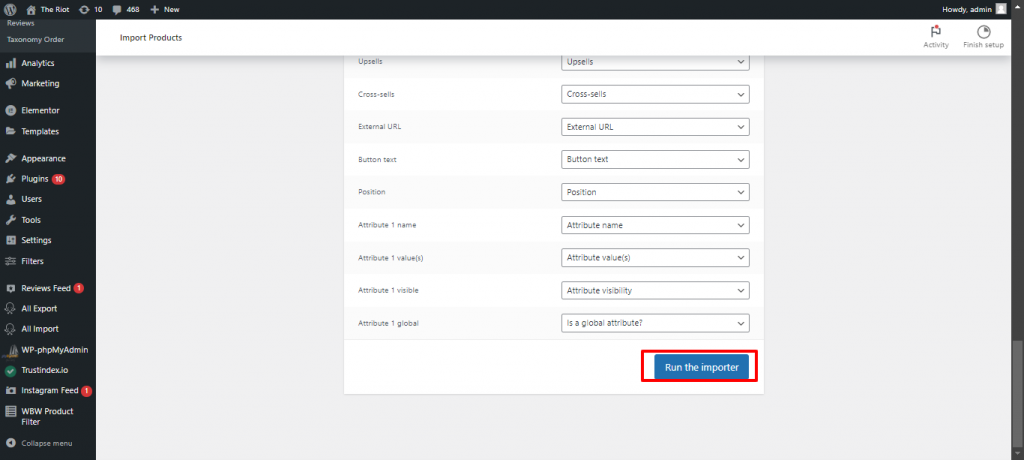
- Click Run the Importer to start importing your menu items.
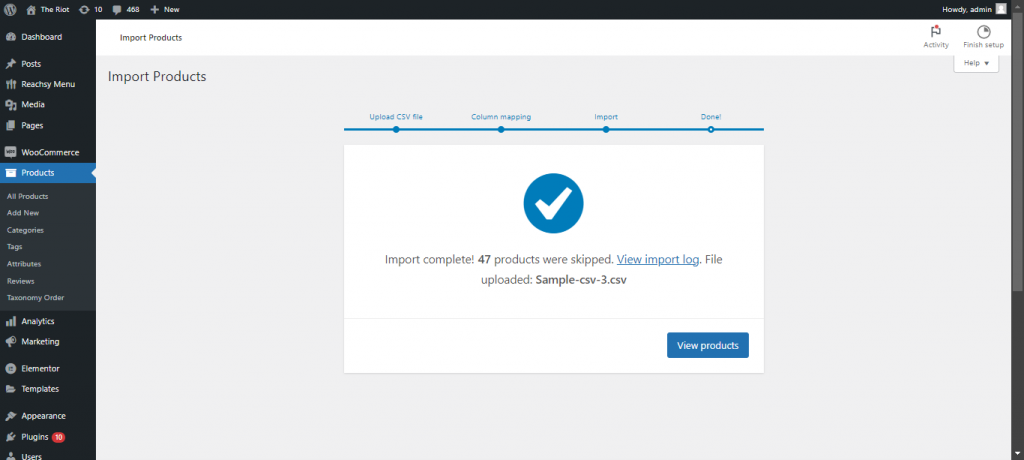
Step 4: Review Imported Menu Items #
- Once the import is complete, go to WooCommerce > Products to review your imported menu items.
- You can edit any product if necessary by clicking Edit under the item name